
Thursday, December 3, 2015
Personal Edit
Masks
 Recently we have been using Photoshop to create masks in different layers whether it be type masks, color masks, or filter masks. In this first image we used a type mask to make the word look like it's made out of water.
 In the second and third pictures we used different layers and masks to make specific object different gradient colors.
In the fourth final image I created a mask and used a gradient over the whole picture. After that we had to make the center appear clearer than the rest.
Wednesday, December 2, 2015
Floating Mountain

Personal Logo

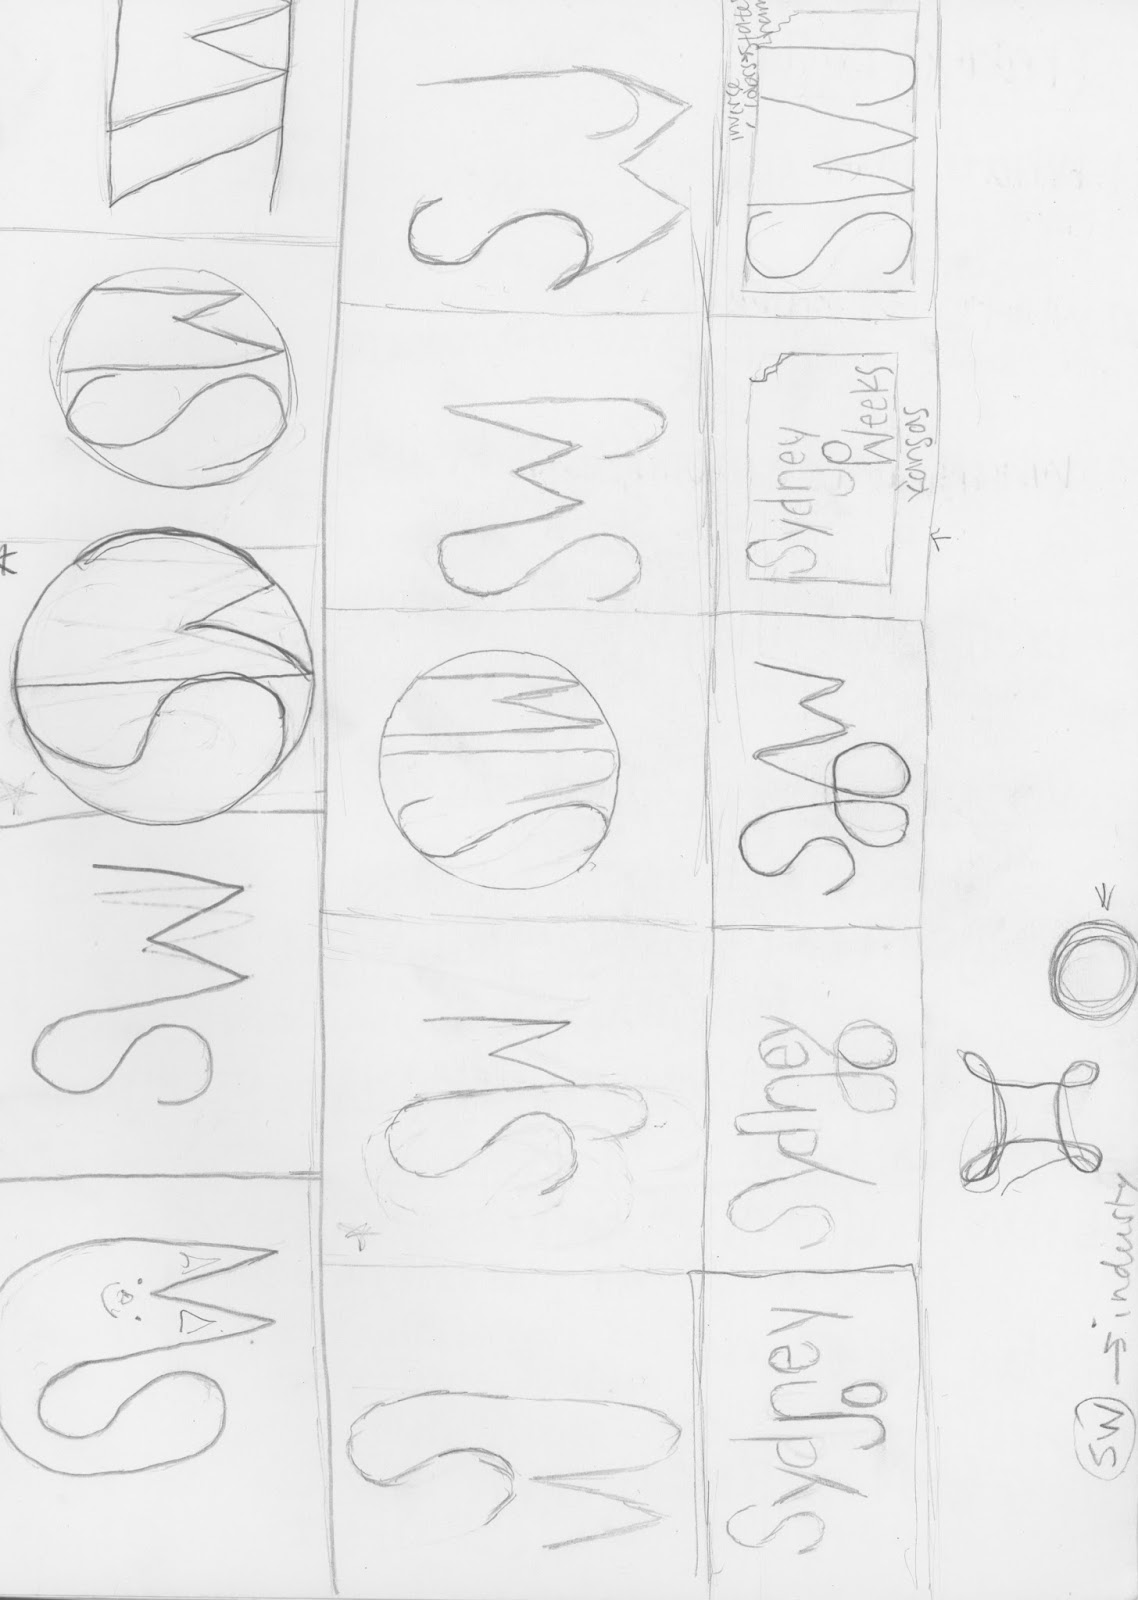


 Previously in Graphic Design we were allowed to create a personal logo that represented who we are and our personalities. While it was really fun and interesting to go through the process it was also complicated to get the shapes square and exactly where you wanted them. These pictures (in order of when created) is the thought process that I went through after I created 15 ideas for a logo.
The first thing we had to do was create 15 sketches of 3 different logos we were thinking of. After we did those we started putting our favorite ideas into Illustrator. I chose to incorporate my initials into a circle because a circle represents organization and I am a very organized person. Then I changed the colors and added design elements to make it more appealing. Once I had the shape I liked for sure, I made the colors more subtle and added a wordmark for business cards or notepads. The font that I found to use for my wordmark was Eryx Rennie Macintosh.
During this project we had to ask each other for help to see if our logo would appeal to others and I think I did a really good job about collaborating and communicating with others' and Mrs. Lofquist about things I could improve on and things that I should keep the same.
Wednesday, November 25, 2015
A Drip of Life
This past week in e-Comm we have been doing a live coverage story on our Student Council's annual Blood Drive. Our goal was to shoot some B-Roll of the event while also interviewing either a phlebotomist, a donor, or a STUCO member helping out.
Wednesday, November 11, 2015
Saving Lives One Drop at a Time
The scope of this project was to emphasize the blood drive in a Michigan high school specifically for a previous breast cancer survivor. They wanted to explain what their goal was when doing a blood drive, especially for breast cancer.
This video did a really good job about posing their shots, both in interviews and for the B-Roll. Another component they executed well was their B-Roll, they made sure to get plenty of different angled shots whether it be of the patients, the organizer, or the phlebotomists. They also used the 6-Shot-Sequence, the Rule of 1/3, a stable base for each shot, and well-rounded audio.
I could use a lot of the things used in this video like the different shots and set-ups of interviews and the B-Roll. Also, the angle the story was told in is a really good concept I could use. They made their angle specific to certain people so if I could find an individual story, that's what I could base my video off of.
Overall, I thought this video was very well put together between the actual video and the audio over the top. I will definitely use this video as a reference for my upcoming story.
Friday, November 6, 2015
ONW NOW Video
This project we did in class was to familiarize ourselves with having to use B-Roll and interviews in the same video to create a whole story. My video in particular was over ONW Sophomore Thomas Barnes and his incredible talent to be able to compose music. It was really interesting to be able to see what he does to get into his composing zone.
First I had to go in and get actual footage of him playing and composing music. After that I got to create my story which personally is my favorite because I get to make my own delayed and summary leads and the voice-overs in between. After we created our scripts we started to organize our clips by favoriting and keywording them so we knew which videos to use. During this we also did our voice-overs then started to actually put things on our timelines. Once we got things on we would just morph them all to make sure they transitioned well into one another and that there weren't any jump cuts.
I've learned a lot of things during this project such as how to get B-Roll for certain activities, what types of shots to use, how to use a title for an interview, and also how to use the J and L to cover up different cuts.
If I were to do anything different I would make sure that I white-balanced my camera every time I was in new lighting or location. I would also get more B-Roll of him composing and playing different things.
Other than those things I am very happy with how my video turned out and am looking forward to learning more things in AV class this year and to make more and more videos.
Subscribe to:
Posts (Atom)